Knowledge
TRAUMA BANDAGE – Application on the arm
Learn more about the application of the TRAUMA BANDAGE on the arm.

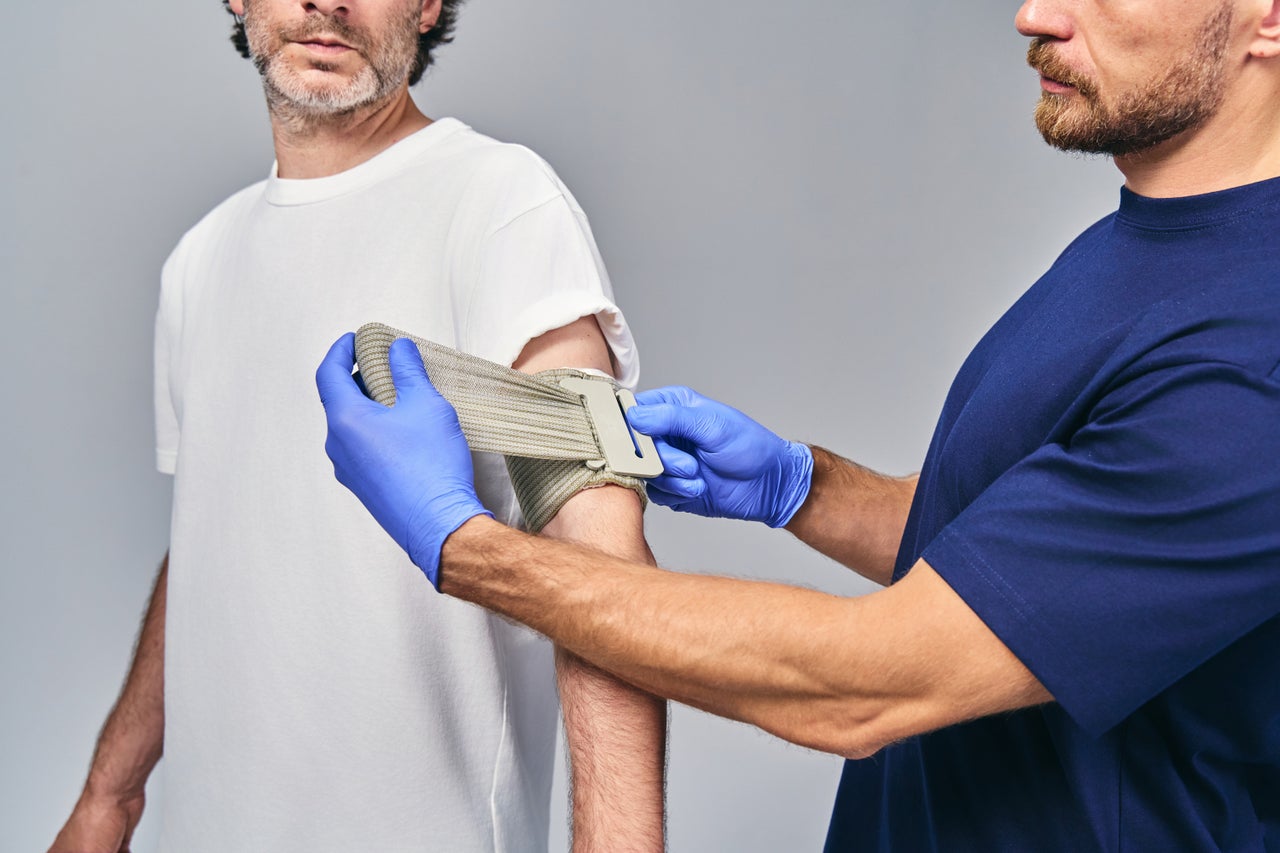
The TRAUMA BANDAGE is an indispensable aid for stopping heavily bleeding wounds. It has been specially developed to be used by first aiders as well as by the victims themselves. This feature makes it a potential lifesaver in emergency situations where quick and effective action is required. Our 6-step guide explains exactly how self-application to the arm works.
Carefully remove the TRAUMA BANDAGE from the packaging and prepare for use.
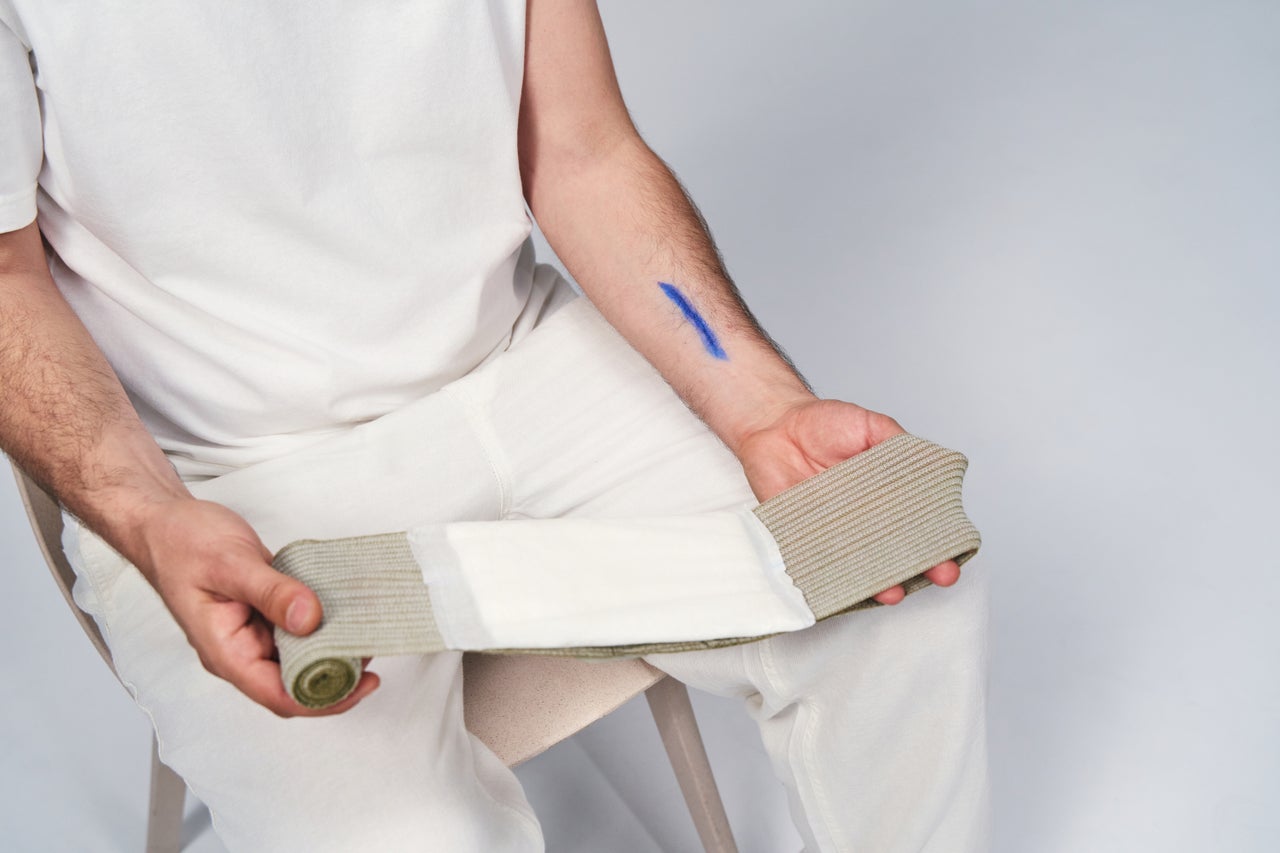
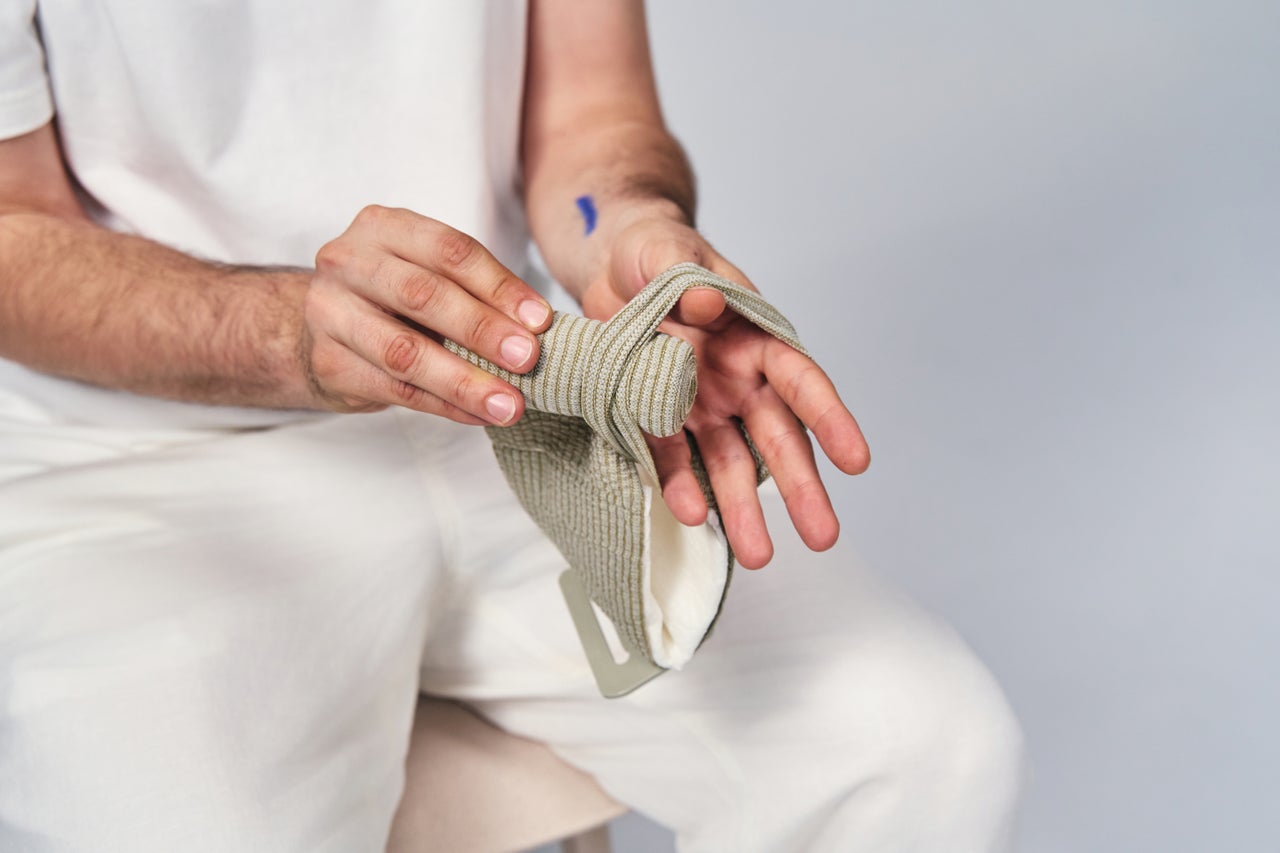
Pass the rolled-up end of the TRAUMA BANDAGE through the prefabricated loop to make self-application easier.
Place the sterile side of the TRAUMA BANDAGE directly on the wound so that the injury is completely covered.
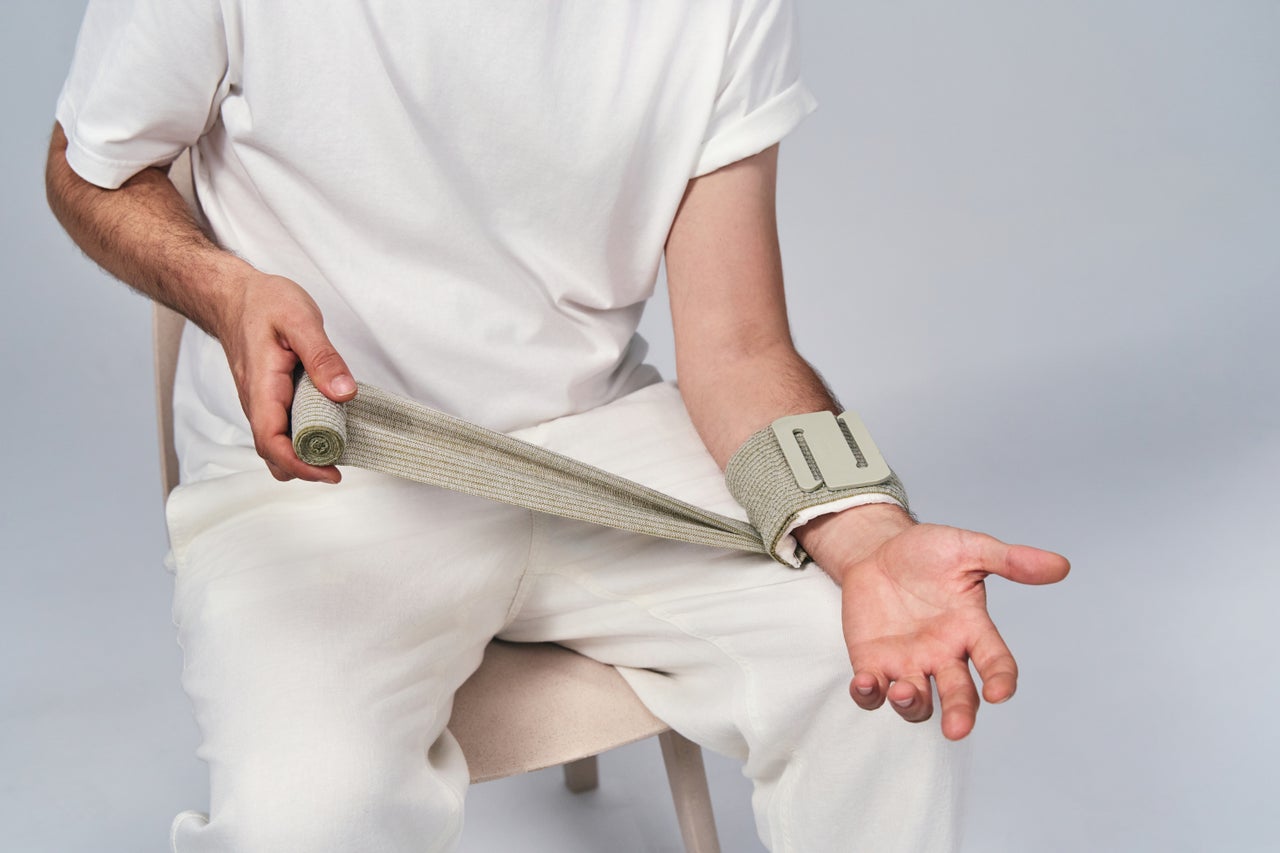
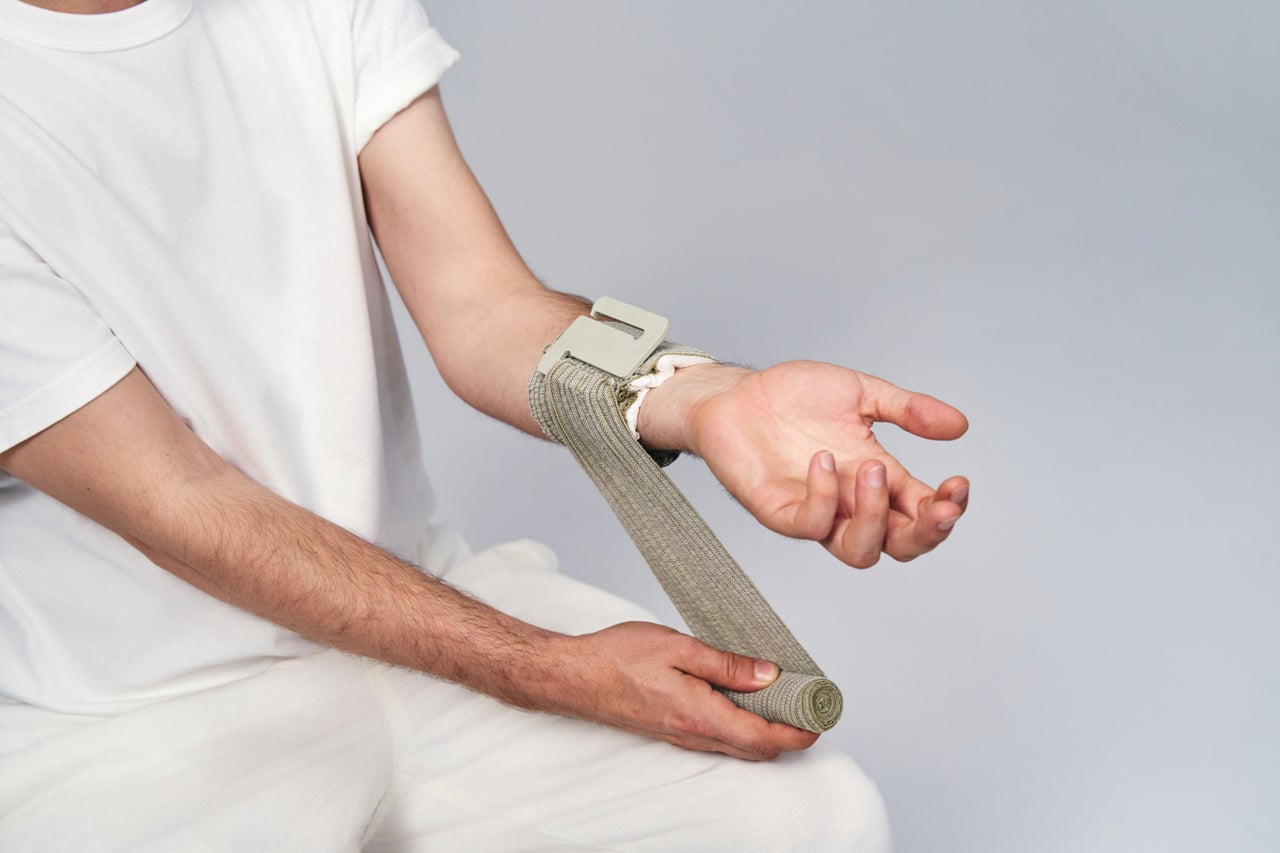
Use the pressure applicator to tighten the bandage and apply sufficient pressure to the wound to stop the bleeding.
Continue wrapping the bandage around the arm. Make sure that each wrap is even and tight to ensure continuous pressure on the wound. The bandage should be firm but not uncomfortably tight.
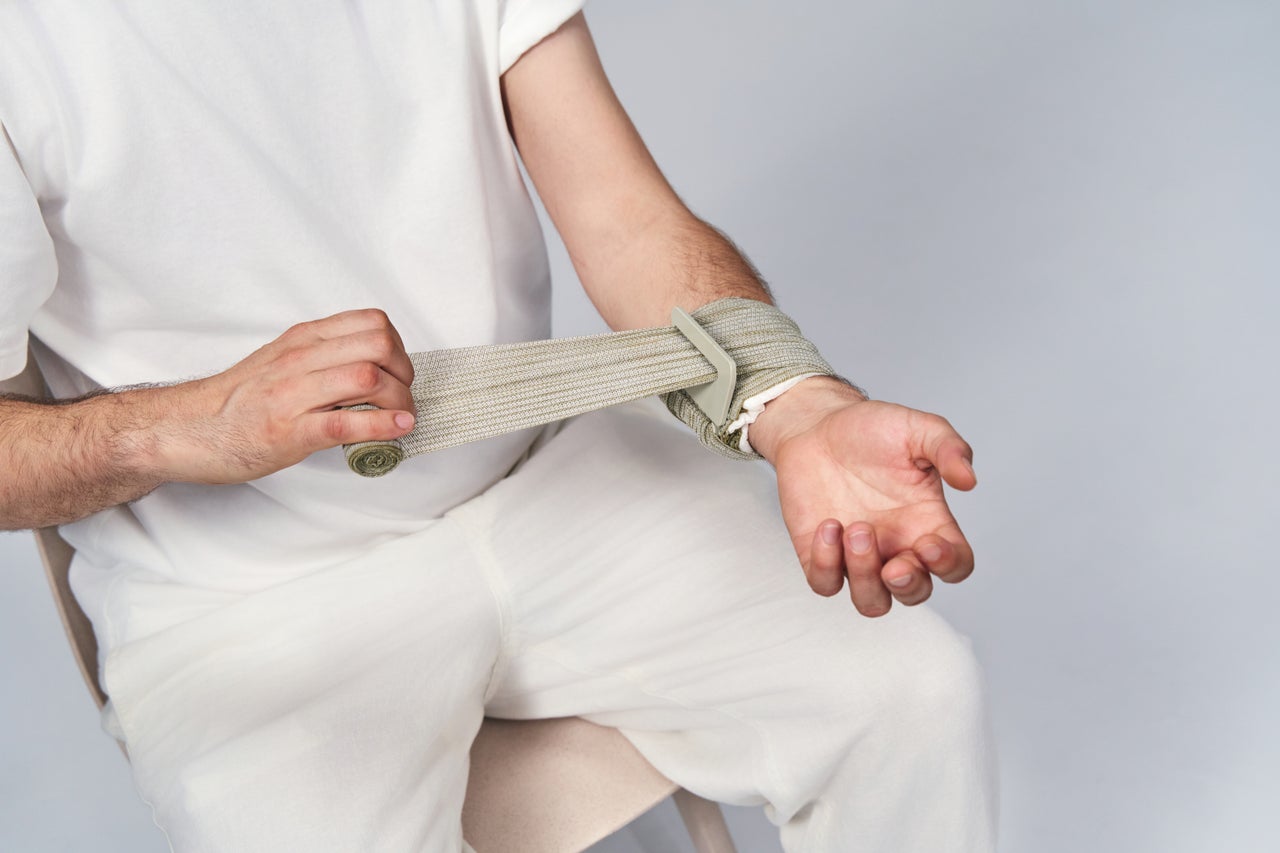
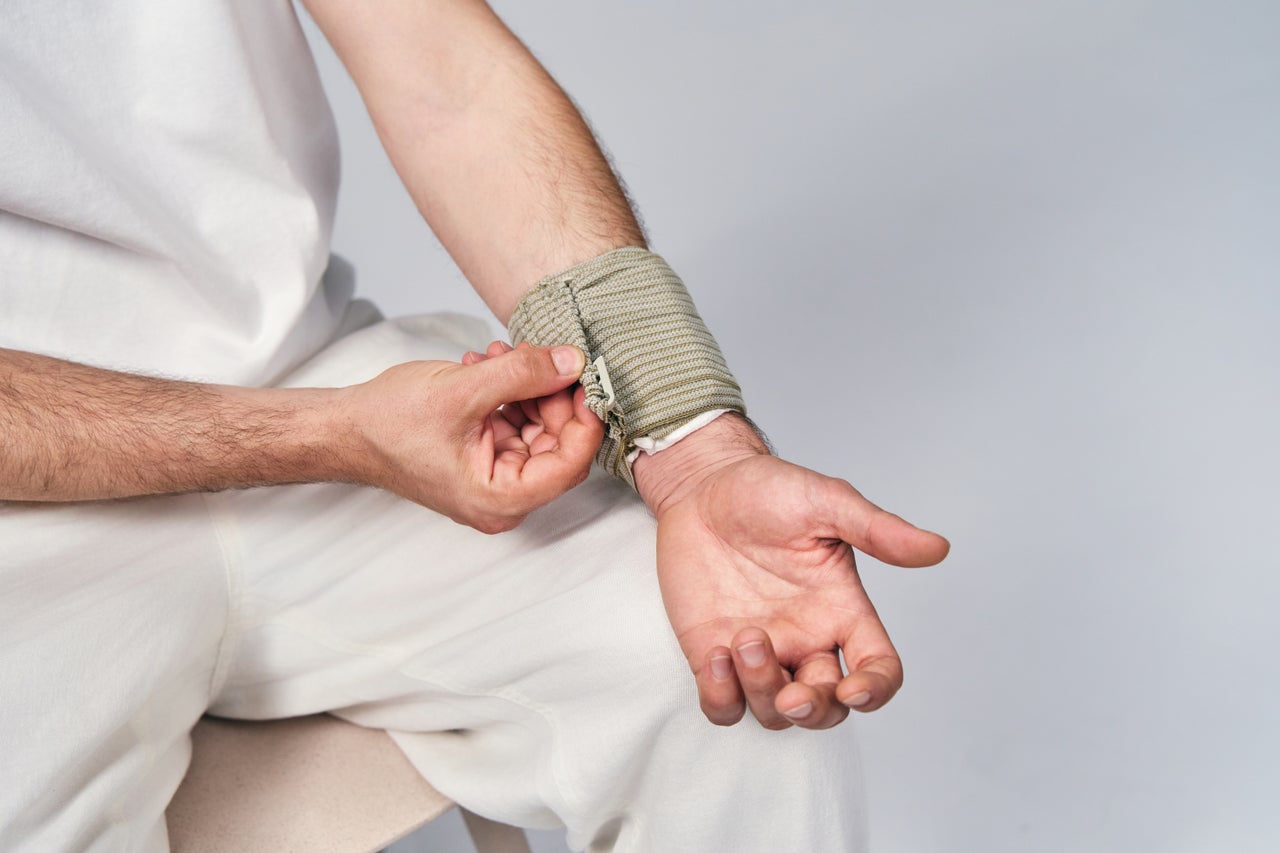
Secure the end of the bandage with the closure clip or by guiding it into where you have previously wrapped. Finally, check that the bandage is tight enough and does not slip. Make sure that the wound is well covered and that sufficient pressure is applied to the wound.
By correctly applying the TRAUMA BANDAGE yourself, you can effectively and quickly stop severe bleeding in the arm and gain valuable time until professional help arrives. Our 6-step guide provides you with the support you need to act safely and efficiently in an emergency.
Learn more about the application of the TRAUMA BANDAGE on the arm.
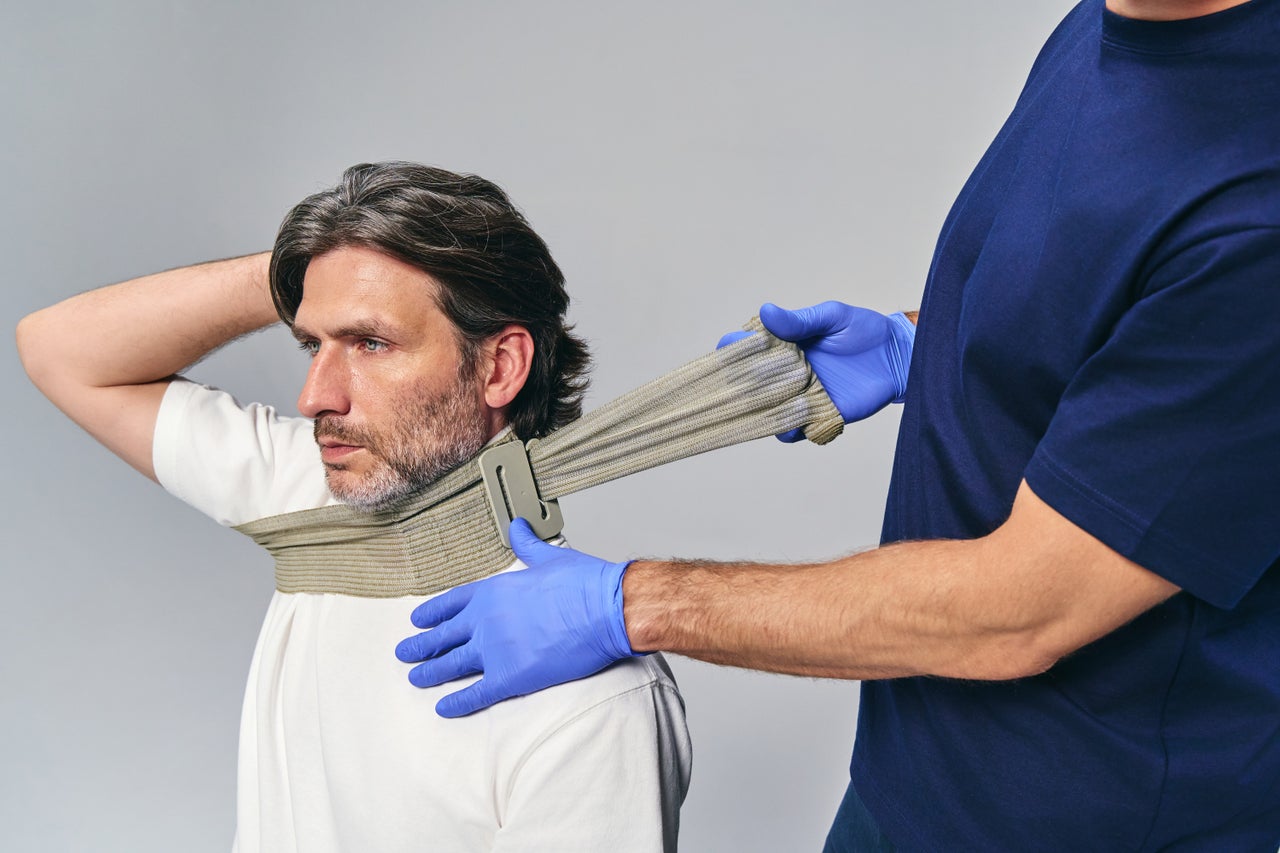
Learn more about the application of the TRAUMA BANDAGE on the neck.
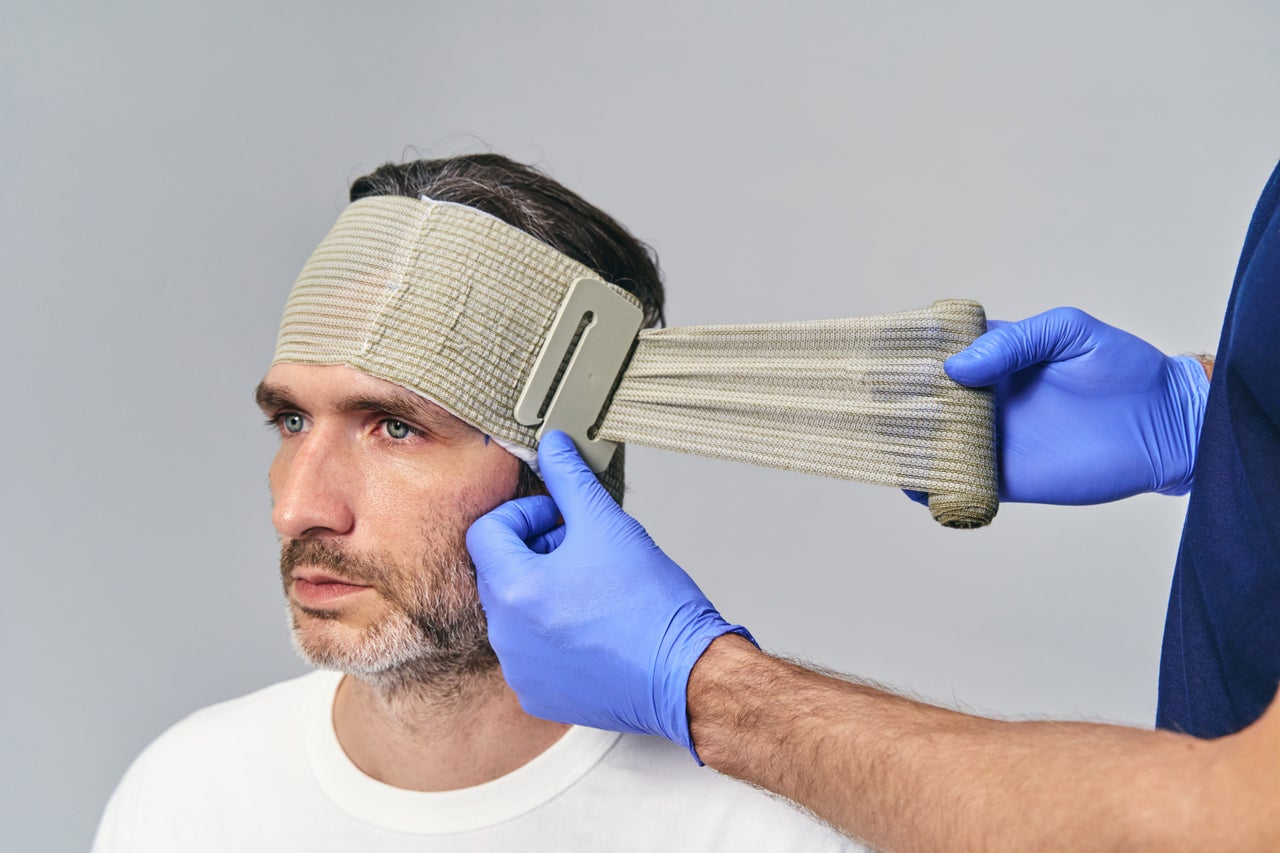
Learn more about the application of the TRAUMA BANDAGE on the head.
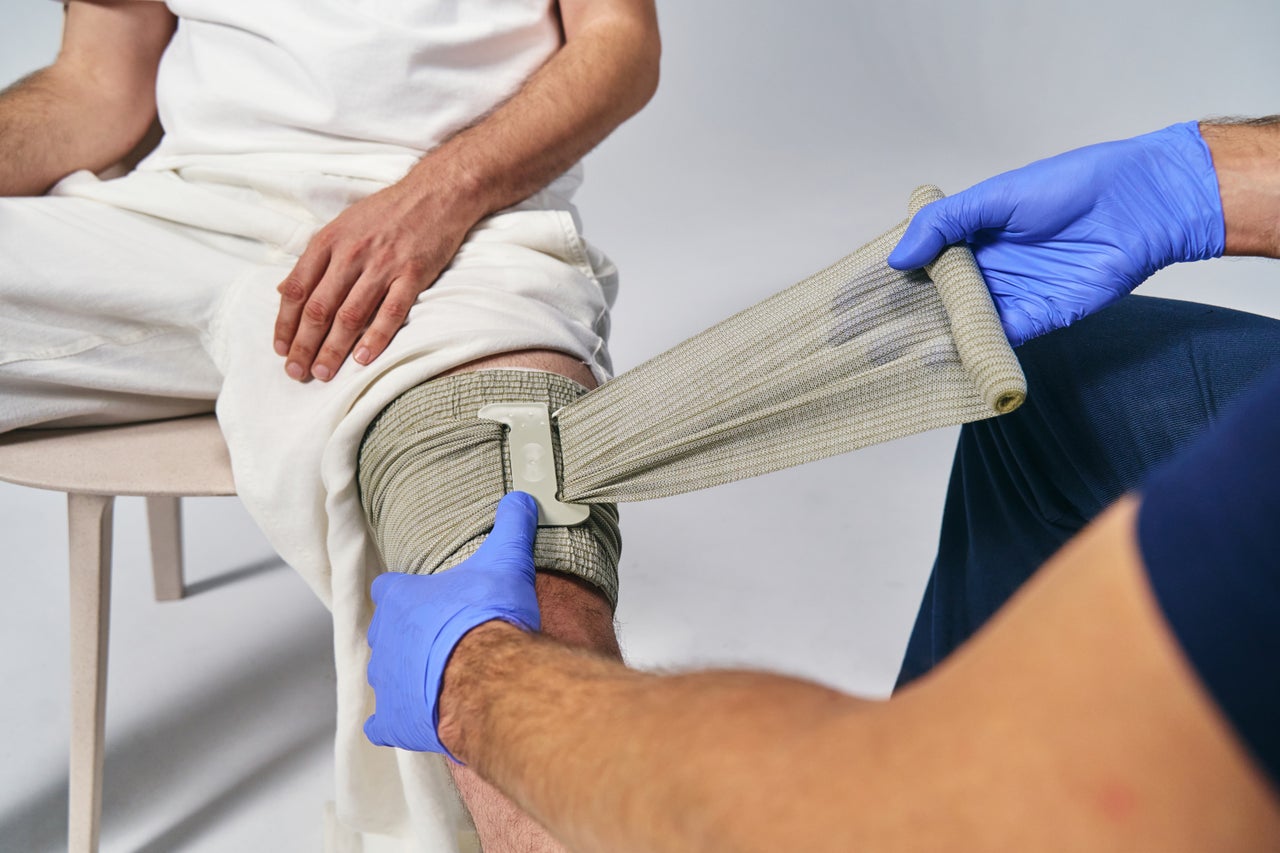
Learn more about the application of the TRAUMA BANDAGE on the leg.